Showing posts with label art. Show all posts

Tuesday, June 13, 2023

James Turrell Light Art Class Party (2023)


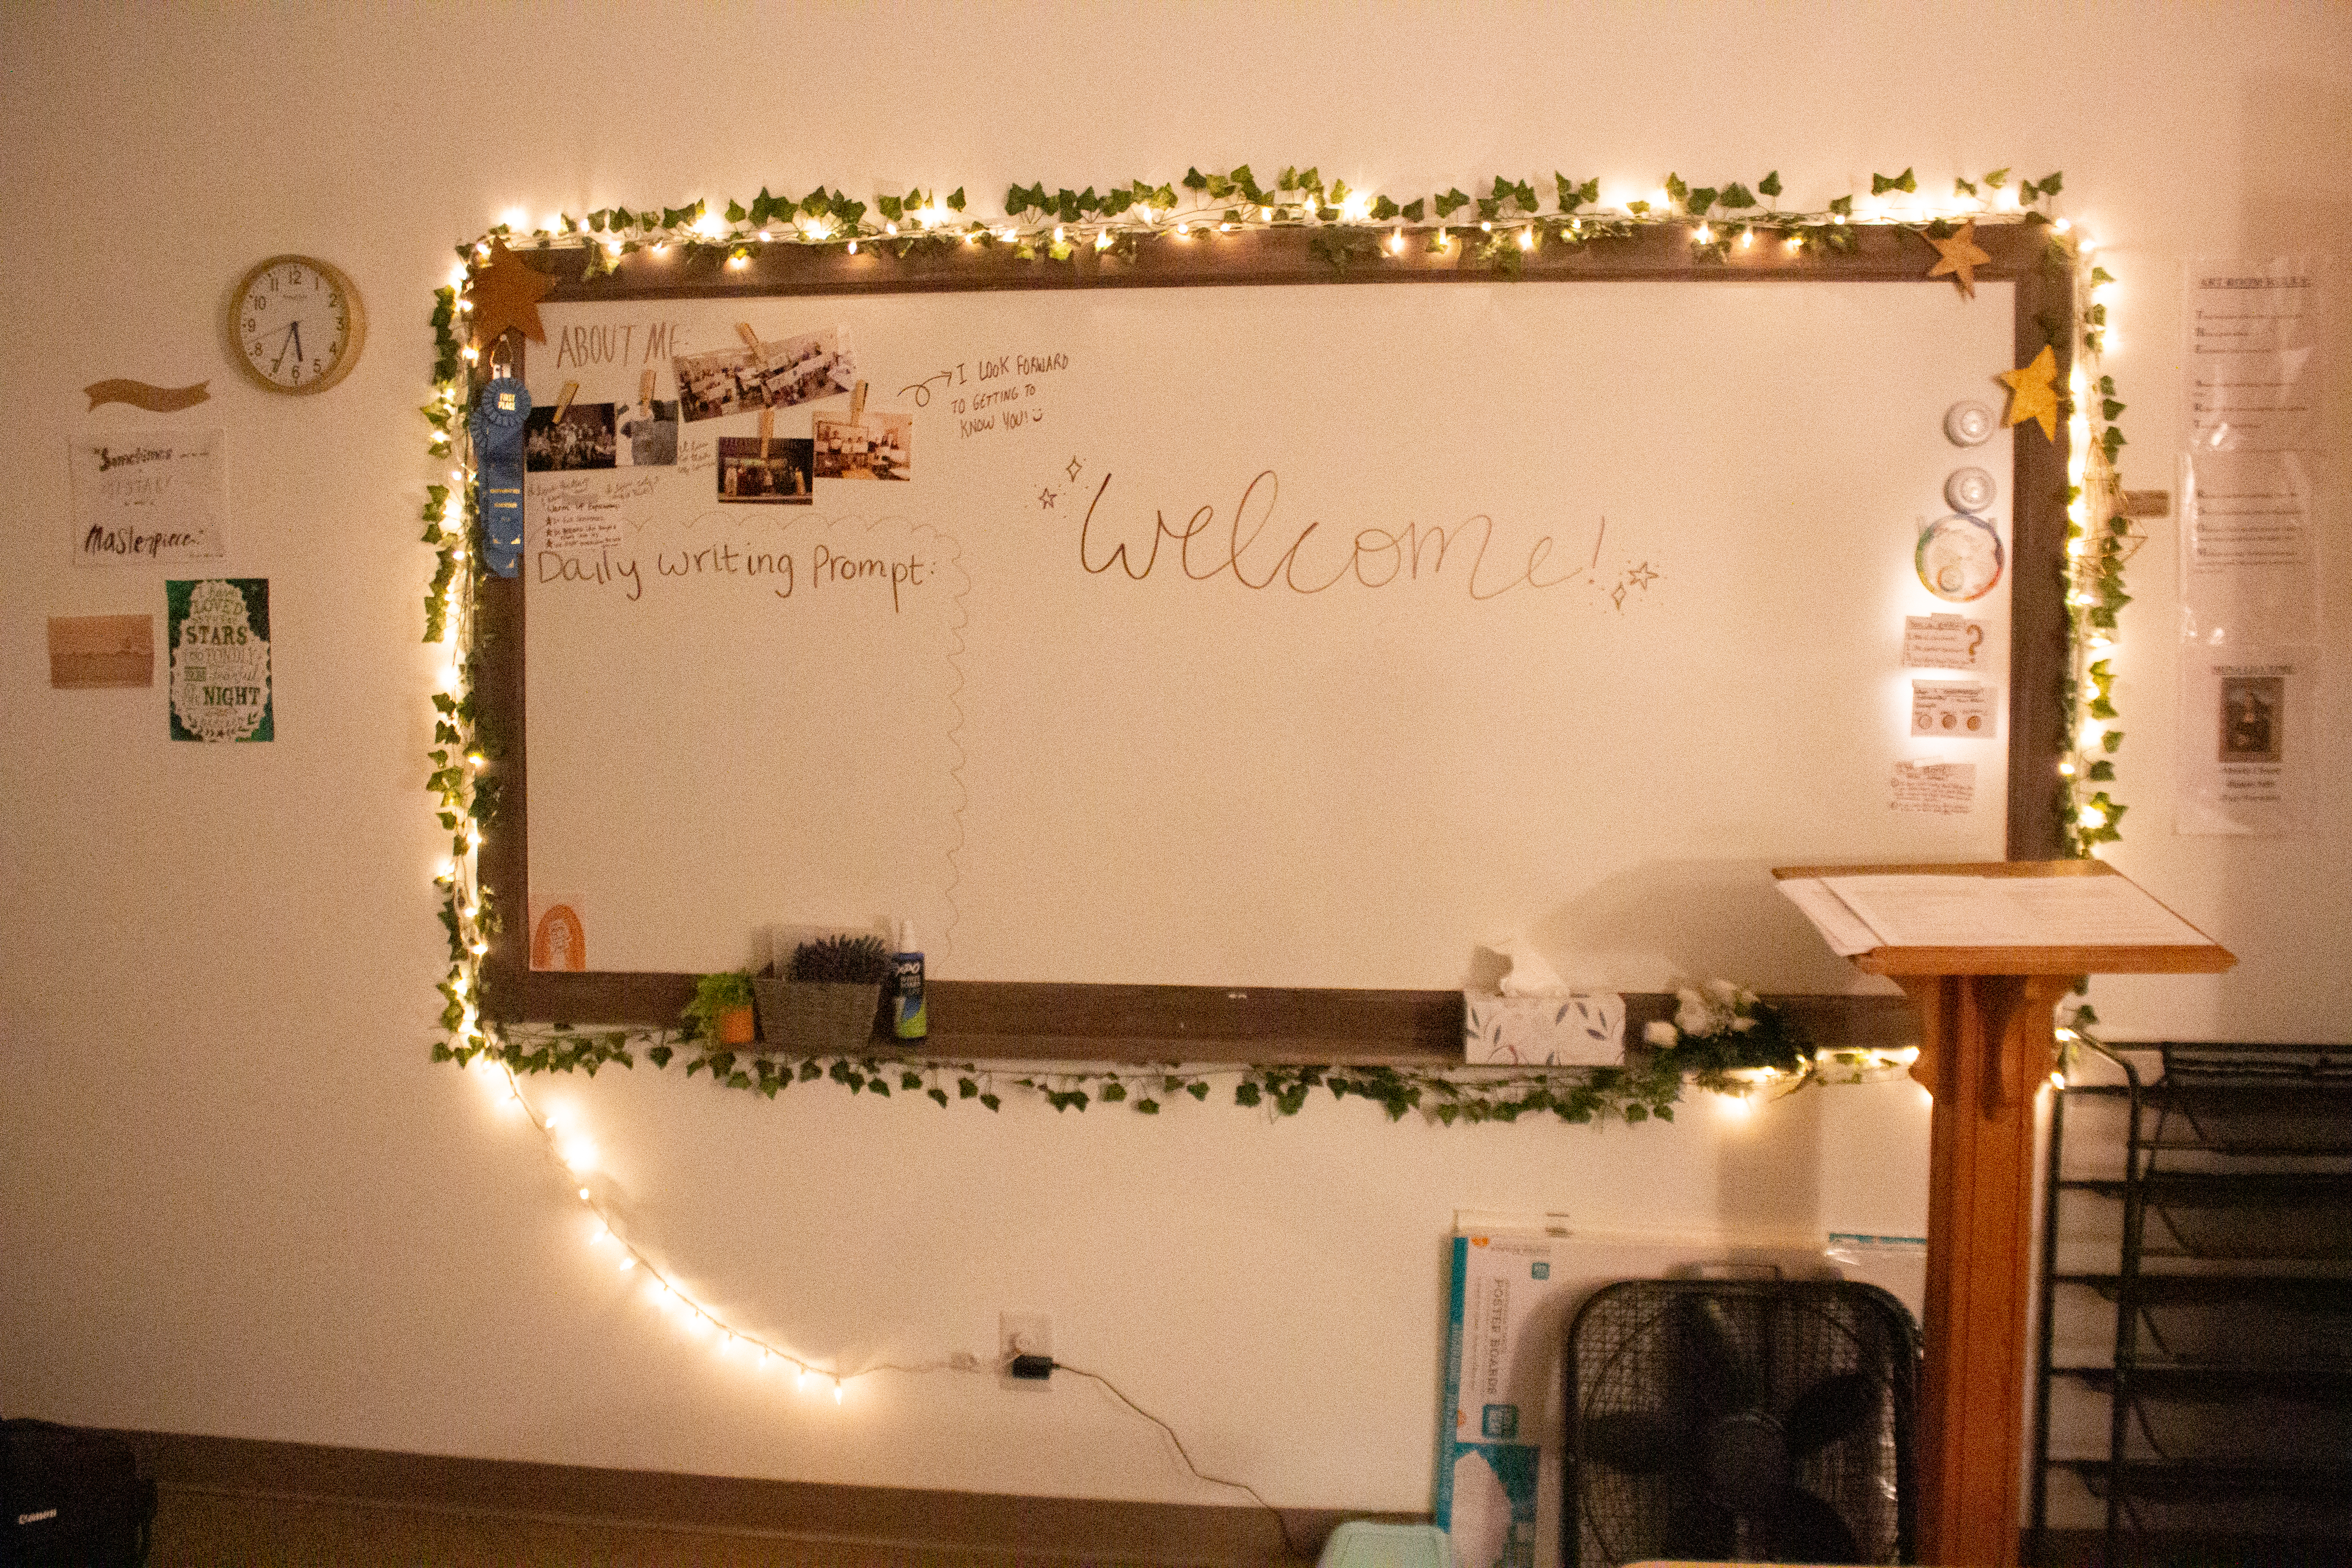
Hey guys, I hope everyone is having a great summer! It's been way too long since I've touched this blog, but I'm hoping to share a few new event themes from this year and art projects I enjoyed making with my students this past semester. Today I'm sharing an art theme inspired by the Light and Space Movement, an art movement I was actually newly introduced to. I discovered it when my art appreciation class was learning about modern art movements and we had covered all of the main art movements from prehistoric to contemporary art, and I was researching lesser known but impactful movements. Basically, these artists considered light and space their art 'mediums' and made works that simply focused on and sometimes changed our interactions with light and space, making viewers consider them in a new way (or should I say in a new light). My students love Van Gogh, but I already themed art class parties on Van Gogh/Starry Night, so I wanted a new theme. One of my three students in that class expressed special interest in James Turrell, an artist who made light installations, and they all appreciated his works, so that was my theme. The student who enjoyed his work most made the one-pager poster on the whiteboard, shown below. 

For supplies I ran to Walmart the night before and found blue tie-dye balloons for around $1.50, bought white balloons, and made a balloon arch the morning of. I printed some of his works to stick on the board. I had some transparent plastic paper on hand and cut out a '2023' with that, layered construction paper ovals behind it, and at the back I attached a dollar tree button light that I had on hand to make it glow. I cut out geometric shapes used in his works to place below with the extra plastic paper. The best part was a light I found at Walmart for $10. It was pricey, but I thought it could be used as a gift or something after and I loved it so much that I ended up keeping it. My students loved it too, so I am going to use it in my classroom for future occasions. It was a small, plug-in light that moves the light in water-like motions at various speed settings, can change colors, and is super relaxing, so I had that lighting up the ceiling and walls during the class parties. 

For my end-of-the-year gifts this year, I ordered photos of individual students and class photos to send home, wrote letters on the back and made an acronym of positive adjectives for each student. I order bulk large stickers (the kind for laptops, water bottles and such) of animals and Bible verses to put inside, but the acronyms took so long, I ended up having students pick out their own three stickers. 


I hope this party theme and these class gift ideas are helpful for other art teachers and art enthusiasts. Thank you for visiting!


-Lauryn 

Share this PostPin ThisEmail This

Thursday, December 29, 2022

Peace Pets Sculptures Art Class Lesson Idea (Middle School)

 Hello! I'm very excited to share a lesson I felt was very satisfactory that was part of my unit on peace last semester. The unit was inspired by Romanesque art and historical psalters. The elements we focused on were texture and form, I think, for this lesson. I did this lesson with my middle school students grades 5th-7th, but this could easily be adapted for any grade level. The challenge was for students to sculpt an animal of choice out of Polymer clay, paint them with tempera paints (and optionally add Sharpie designs), then to make an accompanying card to encourage somebody or give somebody peace by sharing uplifting words of life. Some students did encouraging messages, others used Bible verses. One student made a creative acronym. I did mine alliterate because of course I am obsessed with alliteration, but I did not expect anyone else to. I was so very thrilled when a lot of students came up with amazing alliterate names, like the "Turtle of Truth", "Worm of Wisdom", "Elephant of Encouragement", "Owl of Optimism", etc. I was so proud of their works and creative ideas. Here are some examples of student works below: 


Hopefully I can find the rest of the photos to share eventually. I think my 5th-7th grade students quite enjoyed this lesson, so I hope fellow art teachers out there find this inspiring! 


-Lauryn 

Share this PostPin ThisEmail This

Tuesday, November 22, 2022

Fairytale/Book-Themed Art Classroom Tour

 Hey guys, today I have a few photos to share of my easy fairytale book-aesthetic art classroom with an overview of how I made some of the decorations in case you want to make some, too. 

In the bathroom I hung a moss mirror, which I made by simply pulling moss out of our yard and hot-gluing it on. Surprisingly, it stayed green all semester. I used brown Dollar Tree packaging paper to cut out some of the banner and quote shapes, then drew on them with brown markers. The banner was made from old books and fabric strips I cut and tied into tassels (I had the fabric on hand). 


Behind my desk I hung up all of the papers and cards students gave me throughout the semester. On the opposite side by the white board, I created a "quote wall" where I hung up the wise words my students said. My students seemed to really enjoy contributing to the quote wall. I am definitely going to continue that next year. I was given vines for my birthday, so I pinned those around my whiteboard and stuck up golden cardboard stars I made for past events a long time. I have collected lots of fake plants over the years from gifts, sales, and such which I used in both the classroom and bathroom. The banner above my desk was made from thrift store yarn turned into tassels (you just wrap it around a book or something, tie the top and trim the bottom) and wooden Dollar Tree blocks I hot-glued between each tassel. I got pumpkins for later in the fall from a local store that sells new items for cheap, so they were like 10 cents each. I bought the string lights and lamp last year from Walmart and thrift stores. I originally decorated the window but ended up taking it all down. The sign on the door was a moss wreath from a thrift store I tied yellow fabric to. I cut out butterflies from an old book and hot glued them on, along with another brown paper banner. I did not make the bulletin board décor, a super creative and talented colleague designed and made that with a Cricut machine. 


I hope to share my Christmas décor soon (and yes, I already decorated on November 1st as is my routine). Thank you for stopping by! 

-Lauryn 
Share this PostPin ThisEmail This

Thursday, August 4, 2022

Color Theory Sketch/Warm Up Activity

Good morning! Today I would like to share a fun, fascinating color theory activity I used as a way to get my students thinking about color meanings and connotations. What do you associate with specific colors? How can we communicate through visuals more clearly by understanding connotations and associations colors have and how they can impact our choices? For example, many healthy food packages use green because green can be associated with nature. This assignment was a warm up although it could have been a project in itself where I demonstrated how to fold the papers into eight squares and had the students sketch an image of something they associate with each main color in each square (red, orange, yellow, green, blue, indigo, violet, black, and white). We discussed similarities and differences in what each student thought of for each color. I wrote down lists on the board as we brainstormed prior to the sketches. I hope this prompt idea is helpful for anyone teaching or learning about color theory! 


-Lauryn

Share this PostPin ThisEmail This

Saturday, April 18, 2020

10 Day Art Challenge for Quarentine (Free Printable)

Hey everyone! Today I would like to share a fun, quick 10 day art challenge that will hopefully help you grow as an artist which I created the other day. At the very least, maybe you can try out some new techniques or media. If you are like me, you have plenty to do so you aren't really 'bored' but you lack the motivation to do what needs to be done. If that is the case, maybe this will get you excited and spark some energy. I can't speak from experience since I will be trying it out with you for the first time, starting today. If you are bored, then here's a cure for your boredom! Below is the free printable challenge checklist. Enjoy!


Thanks for visiting!
-Lauryn
Share this PostPin ThisEmail This

Thursday, February 20, 2020

DIY Art History Valentines + Free Printable


Hello, everyone! I'm sorry this post is coming to you later than usual and that I couldn't finish it before Valentine's Day. However, these puns could come in handy for any day, and maybe will provide inspiration for more art history gifts/cards, in addition to being a resource for you next year. I made these puns and came up with the art history theme while doing a huge art history project for my art education classes (called "the mammoth project" for a reason!), and most of the puns came to me while I was in bed around midight (isn't that when all the best ideas come?). These are super easy to make, at least for the most part. If you have a laminator I imagine the process is way easier, but I cut, peeled and stuck together my laminate paper by hand. These cost probably around $0.75 each if the ink, paint tubes, paper and laminate are all included, but not counting the extra paper and supplies left over. To clarify: I am not calculating and adding the cost of paper, ink, and the roll of laminate, but estimating based on the amount used of those items. I normally would do cheaper valentines, but I only needed around ten this year, plus I didn't realize how much they would add up to. You could modify this to be more cost-efficient.

Here is what you will need:
-Tubes of Paint (or some artistic material)
-Laminate Paper
-White Cardstock
-A Printer and Colored Ink
-The Free Printable Below
-String or Tape (or some material you have on hand to hold the paint/alternative to the card)
-A Pen 
-Playing Cards (optional)
-A Glue Stick
-Scissors

Step 1. 
Printout the printables below onto white cardstock and cut them out.

Step 2. 
If you use playing cards, glue the picture onto one side of each card with a glue stick and cut an equal-sized peice of white cardstock to glue to the other side (so the card is sandwiched in between). The card just reinforces sturdiness. Whether or not you use playing cards, the back is white. Write a message on the back with your pen (preferrably black gel ink, a simple message like "Happy Valentine's Day!") and sign your name. 

Step 3. 
Laminate the cards. 

Step 4. 
Tie, tape or somehow adhere the paint tubes (or alternative media) to the cards, preferrably with an adhesive that will not mess up the cards when removed. You are done! 


Here are the free printables:


If you have difficulty downloading them, just right-click, select 'Open image in new tab' and you can print it from the new tab from the right-hand corner options.

I hope you enjoyed this tutorial!

-Lauryn
Share this PostPin ThisEmail This