Translate

Showing posts with label character. Show all posts

Tuesday, January 27, 2026

Character Mindmap Book Review Project (& "When Stars Are Scattered" Activity)

This amazing lesson came from a book given to me by a co-worker called "100% Engagement" (Grades 6-12) by Brian Sztabnik and Susan Barber. This project is called a "character mindmap", where students chose a character from our class book ("When Stars Are Scattered" by Victoria Jamieson and Omar Mohamed), draw them, then identify and label the following to show they truly read the book and understood the character: 

-A thought bubble. What would this character be thinking about?

-A belief under their feet. What beliefs do they hold?

-Something in their hands to represent what they give, their responsibilities, and/or burdens they carry. 

-A challenge they overcame or way they grew in the story written by their leg to represent the difficulties they walked through. 

-A heart labeled with their deepest desires. What do they most want?

Below is a checklist I used as the rubric from the book mentioned above. This assignment aligns with the high school ESOL WIDA standards, though I did not include the standards it meets. 


I loved the result of this assignment. I was so proud of my students' creativity and hard work! I hope if you are an educator you find this helpful to implement in some form in your classroom. I also highly recommend both of those books. Thank you for visiting! 

Blessings,
Lauryn
Share this PostPin ThisEmail This

Thursday, October 25, 2018

Easy DIY Belle Costume


Halloween is right around the corner, and as you may know, I love to create costumes. Preferably elaborate ones. However, I always seem to find myself sewing and gluing at the last minute and I know most people love a simple but elegant costume. If you find yourself or someone you know scrambling for a costume at the last minute, this is a great choice. I've seen lots of Pinterest ideas for Belle costumes, so here is my own version listed in more detail below:

For the costume you will need:
-A light blue shirt (I cut the sleeves off of a tee-shirt I had)
-A white, button-down, long-sleeved shirt.
-An apron. I handmade mine for my Alice costume.
-A light blue (puffy/circle-shaped) skirt, the same shade as the shirt. They could also be medium blue. Mine was from a thrift store.

Put those items together, and easy as that you have a Disney princess costume!


Best of all, it costed me about $2, which isn't too terribly expensive. I hope you enjoyed! I look forward to sharing more costume tutorials with you!

-Lauryn
Share this PostPin ThisEmail This

Wednesday, October 24, 2018

Easy DIY Charity Costume (The Greatest Showman)


Hey, everyone! Here is a super easy tutorial for a Charity costume from "The Greatest Showman." 

You only need three items:

-A white, button-down, long-sleeve shirt with a collar (thrift stores always have them. Mine was $1)
-A dark (more or less) blue circle-type of skirt  (I'm very particular about skirts being 'puffy'. Mine was made from a dress that was $1 or so)
-A black vest (mine was made from a $0.50-$1 shirt from a thrift store)

Put them all together with the vest on top, and you have a simple, inexpensive, elegant Charity costume!


Have a nice day! I look forward to sharing more costume tutorials!
-Lauryn
Share this PostPin ThisEmail This

Monday, August 20, 2018

Annie Birthday Party

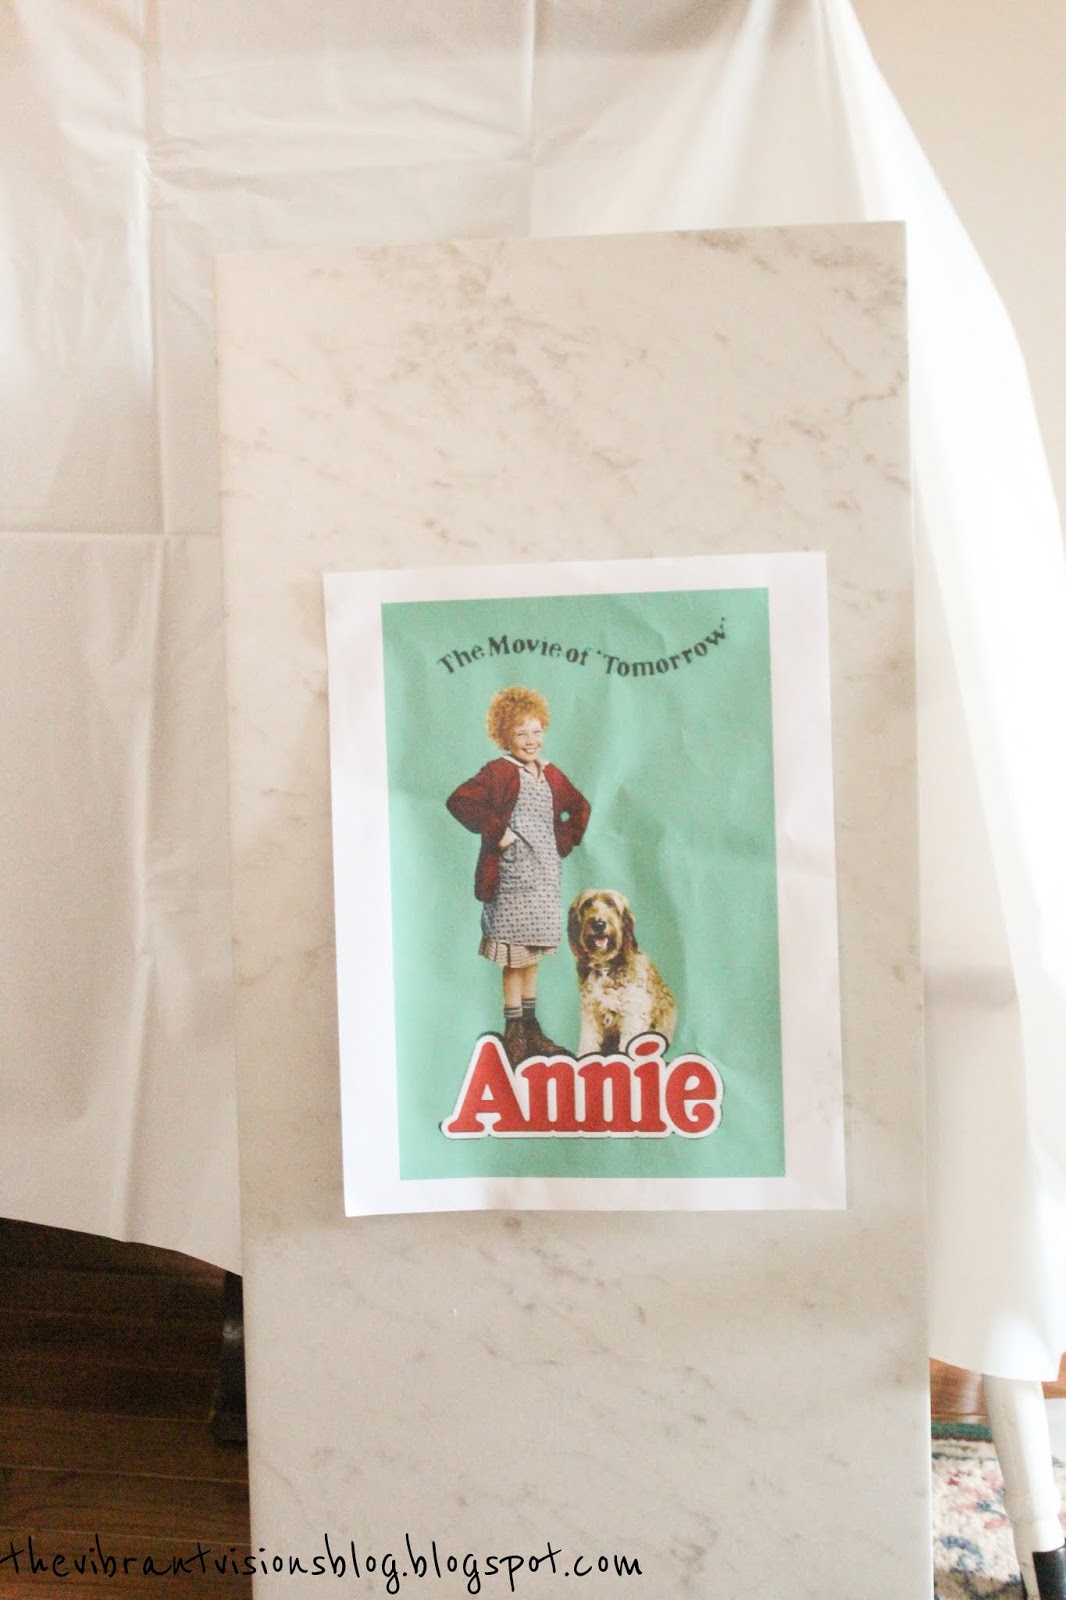
For my Mother's birthday two weekends ago, I put together an Annie-themed birthday party. I was really excited about the theme, although the decor came out simpler than I envisioned. When I was brainstorming a theme, I thought of characters and how I loved Alice. I realized that Annie was a childhood favorite of hers, like Alice was (and is) to me. I wanted to do untraditional colors, so I chose white, turquiose, and yellow (she loves teal). I was going for a mix of modern and vintage style. The banner was made with tissue paper and wooden beads. The poster was something I edited to match the party, printed, and taped to a slab of marble I had on hand. For the party favors, I made dogs from wash cloths and tacs. I wanted the favors to be practical, cute and coordinate with the theme. I got my inspiration from a wedding favor I saw online. I'll post a tutorial on how to make these soon. The flowers were from our local grocery store. The purple flowers were from my grandparent's garden. The pie was a keto treat made by my mother. I painted the two large posters with acrylics.


I hope you liked it, and look foward to posting again soon!

-Lauryn
Share this PostPin ThisEmail This

Wednesday, July 13, 2016

DIY Mickey Mouse Ears

For Riley's 3rd Modern Minnie Mouse birthday party, I made mickey mouse ears for party favors. Here's the tutorial:


You will need:
-Black felt (One sheet per two people, $0.20 at Walmart per sheet)
-Headbands (I got a pack of twelve headbands for $1 at Dollar Tree)
-Scissors
-Hot glue gun
-Hot glue gun sticks
-Card-stock (black is preferable)

Fold a sheet of felt in half. Cut two circles, which will create four when you are done cutting.


Squirt hot glue on each ear, one at a time.


Place the ear under the headband.


Fold the bottom of the ear (with the hot glue) around the headband, as shown below.


Glue card-stock to every ear to hold them up when they are worn. I used pink cardboard and painted it black because that was what I had on hand.


All done! You can add bows to make Minnie Mouse headbands.


I hope you like your cool party favors!


Share this PostPin ThisEmail This