Showing posts with label cardboard. Show all posts

Tuesday, March 14, 2017

DIY Recycled Heart backdrop

For the Valentine's Party at the Park that I shared in my previous post, I made a heart backdrop. As promised, I present the tutorial so that you can make one too! This backdrop is easy, quick, recycles cardboard, and can be used for photo backdrops, birthdays, weddings, or other events in addition to Valentine's Day. It makes a great last-minute party decoration.


You will need:
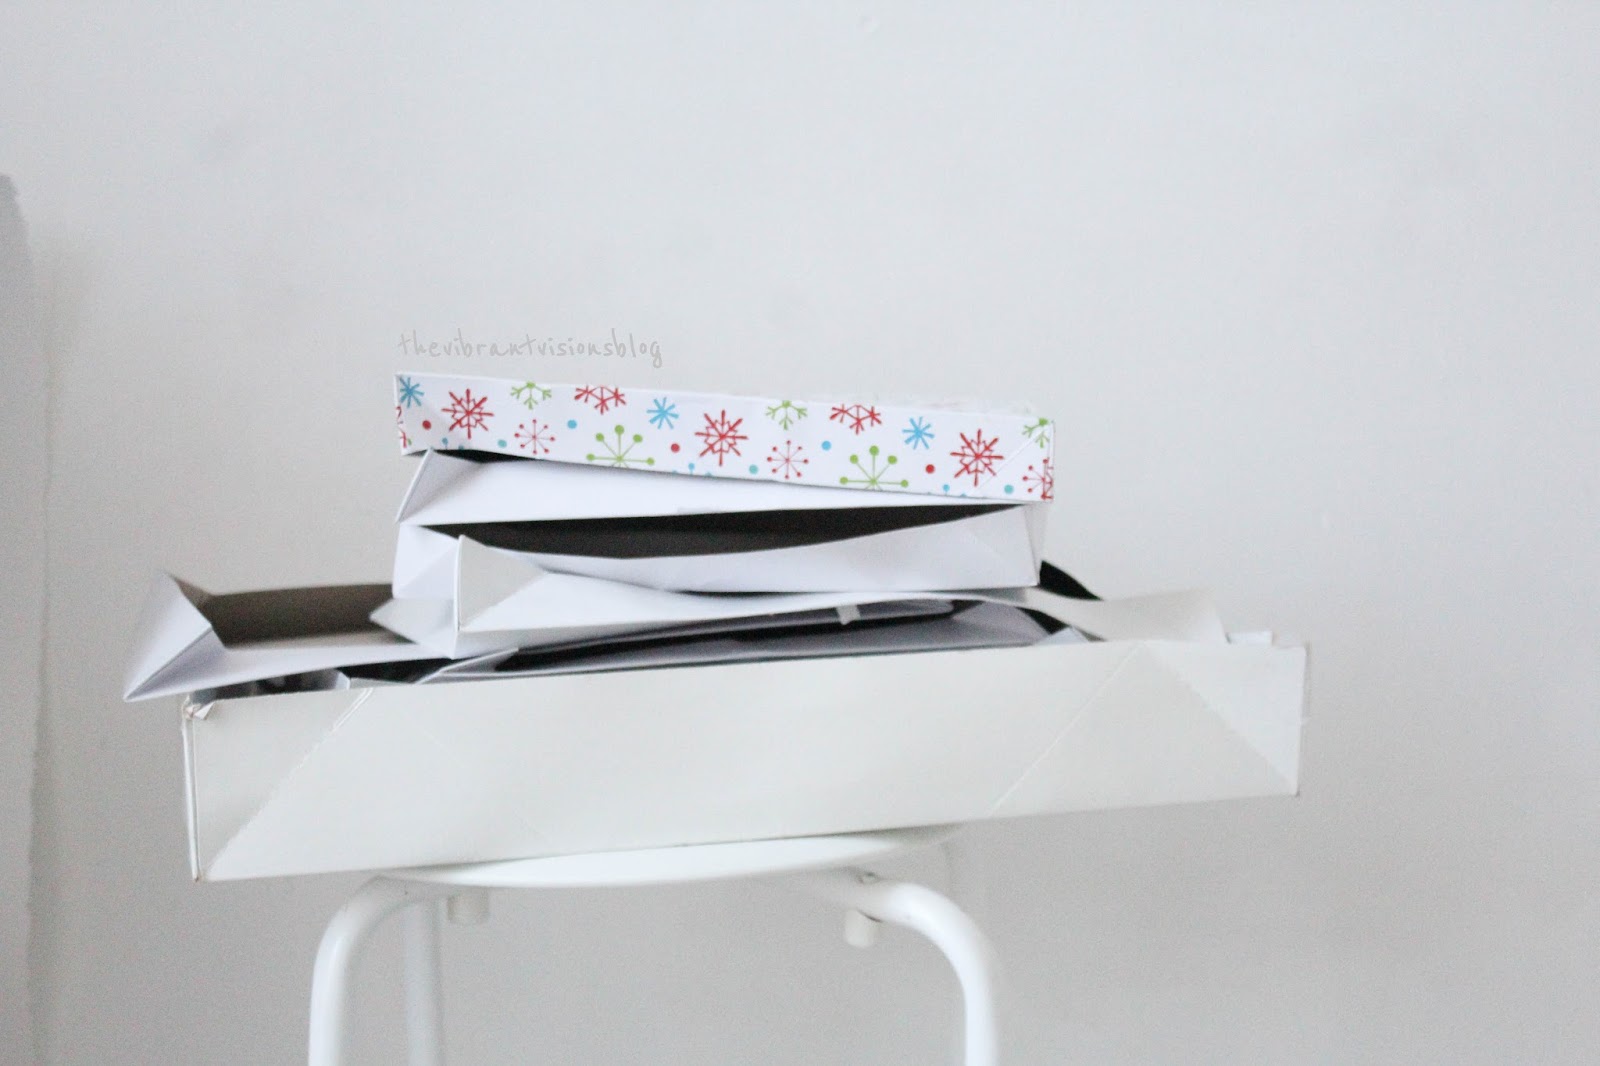
-Cardboard (if you want it to look like mine, use the white bottom halves of clothing boxes, making sure that there is nothing on them, such as labels or unwanted colors).
-Hot glue gun with hot glue gun sticks
-String (I used yarn from the thrift store)
-Scissors

Step 1. Gather up your cardboard, and begin cutting out hearts. It's okay if they're different sizes.


Step 2. Hot glue string to the back of the hearts. I spread mine out so that the strands would be longer.


That's all there is to it! 


I plan on posting some St. Patrick's Day crafts later this week, so come back soon!
-Lauryn
Share this PostPin ThisEmail This

Thursday, August 11, 2016

DIY Prize Ribbons


I''m so sorry everybody! I've been such a procrastinator lately, always telling myself "I'll finish that post later" and forgetting to or not having time. For my next party coming up, I need some prize ribbons for a competition. These are super easy to make. All you need is:
-Felt or fabric scraps
-Cardboard
-Scissors
-Hot glue and a hot glue gun
-A pen (you could also use a marker or paint)
-A paintbrush 
-Paint (I used metallic gold and silver)


Step 1. Cut out circles from your cardboard. Thin cardboard is best, such as my recycled Caprisun box.


Step 2. Cut out rectangles from your fabric or felt, then cut a v shape into one side of each rectangle. Glue these on to the circles, one per circle.

Step 3. This step is optional. I only did this to one of my ribbons. You can cut gum-drop shaped pieces from your felt or fabric and glue them around the rim of your circle(s).


Step 4. Now you can paint your circles. I painted only the edges of one with metallic silver acrylic paint, and covered another one entirely with gold metallic paint.


Step 5. Write on them with pen, marker or paint. You could do 'most creative' or 'most colorful', ect.

Step 6. Hot glue pins to the backs of them.


Your done! Your contestants are sure to love them!


Share this PostPin ThisEmail This