Translate

Showing posts with label woodland. Show all posts

Sunday, July 5, 2026

DIY Fairy Dress Idea (A Midsummer Night's Dream)

Hey guys, happy Sunday! I hope everyone had a great 4th!

Today I present a quick little costume idea I made the day of going to see "A Midsummer Night's Dream" with a friend. The friend I went with had the super fun idea of dressing up for the occasion, so this is what I threw together with things I had and some fake plants.  

My outfit was put together from two dresses I already owned, plus a corset I made with red fabric I discovered in our house. I don't use patterns, so I looked up how people sew corsets, copied the shapes, added sleeves, and in under two hours (maybe under an hour) I had the top part done, so it is not super difficult or time consuming. Of course, I did not bone mine or make a proper corset, just the shape appearance of one. The red under-dress was not altered, but the green dress was worn on top of the red and under the corset. I stitched up the front to create the ruffly, layered look that reveals the red dress by tucking in the fabric in the front. 

The last main thing is just lots of flowers and greenery! Unless you want to be comfortable, which wearing artificial plants is definitely not. I found sections where these plants I got for cheap in bulk at Goodwill had branches or leaves, and stitched them on. Everything I did to my green dress can be undone, because I may want it back to normal in the future. Otherwise, I might have just hot-glued the plants on. Wear coordinating accessories, create and add wings if you want (mine were coat hangers and a painted pair of old tights), and you're done!

My beautiful friend CC wore a majestic, ethereal, princess-looking outfit with a pearly crown and blue dress. There are so many directions you could take creating a costume inspired by "A Midsummer Night's Dream".

In progress...


Done:


I hope you find this last-minute idea helpful for any relevant shows, festivals, or events you might want to throw something together for! 

-Lauryn 

Share this PostPin ThisEmail This

Saturday, February 18, 2023

2023 Bedroom Tour (Fairytale/Story Theme)

 Good evening, I hope everyone is enjoying their weekend! I am on a school break, so I am hoping to share a couple posts the next two days, but here is a quick room tour to start with. I decided to do a story/fairytale sort of theme with lots of animals and nature in my décor, and I decorated the day after Christmas (as always) for the new year. All of the decorations were handmade, from the thrift store or on hand. For example, I used dried roses and leaves I had saved to decorate my piano. In other words, these are cheap and easy decoration ideas I hope some of you might find applicable. 


I look forward to hopefully sharing more soon. Thank you for visiting!


-Lauryn

Share this PostPin ThisEmail This

Thursday, May 28, 2020

DIY Bird Magnet Party Favors


Hey everyone! I'm finally back. Here is a quick tutorial on how to create bird magnet party favors. These are super easy (meaning they can be made at the last minute if necessary. I know from experience.), practical, fun and pretty inexpensive. They do require several phases of drying time, however. If you substitute the clay I listed below, then they can be even cheaper. I created these for a bird-themed party, but you could create something else to fit your theme or use the bird magnets for a more open-ended theme such as nature, animals, etc. Unfortunately, I did not take photos of the process, so hopefully the instructions make sense. These are overall pretty self-explanatory.

For this project, you will need:
-Polymer Clay (NOTE: The acrylic paint is completely unnecessary if you have the colors of clay you want. I used old clay, so I had to paint on top of it once my birds dried. You can do details with the clay and skip that trouble, though.)
-Acrylic Paint or Nail Polish (I used Apple Barrel acrylic paint)
-Paint Brush(es)
-Clear Gloss (this could be Dollar Tree nail polish or a gloss paint. I like to use one from a local store called The Artful Barn that is only $2 or less, is triple-thick, and works great)
-Magnets (I bought mine in bulk on Amazon for cheap, although they are very miniature so I need to use two on the back of each)
-Adhesive (hot glue did not work for me, so I had to use J.B. Weld epoxy. Don't get it on your fingers, car, clothes, or carpet! I learned the hard way.)

Step 1.
First of all, you need to form the birds out of clay. Roll and squish the clay in your hands until the clay is pliable, then roll it into a ball. You'll want the ball to be just a tad bit wider than a quarter, probably, if that makes sense. Then place the clay down on a plastic plate, parchment paper or anything it won't stain or get stuck to. Use your thumb to press down and make a two-ball snowman shape with a small circle and large circle (all in one piece). Pinch the tip of the small, top circle and pull it to form a beak. Pinch and pull the bottom left part of the large, bottom circle to create a broad tail. Pinch and pull on the bottom of the large circle to create a cylindrical shape and press down so it is rectangular. This should be narrow. At the bottom of this rectangle, pinch both the left and right sides to create feet. The right should be longer than the left if your bird is facing right. You can use a fork, needle or other tool to engrave toes. You can add other details if desired, such as a wing sticking up, a varied head shape, a branch, etc. If you have the right colors, form the eyes, wings, beak, feet, and other different-colored elements and stick them on, making sure the edges are securely combined, and skip Step 2. I did not do this, so I will describe my process in Step 2. Bake the clay at around 275 degrees for around thirty minutes. This is a vague estimate, and ovens vary.

Step 2.
Once the clay has hardened and cooled off completely, coat the bird in the acrylic paint or nail polish color of choice. If you use paints, this may take three coats, involving each to dry before adding a new coat. Once that is dry, use black to paint on tiny dots for the eyes, and use black or another color of choice to paint a simple wing shape, the feet, the beak, and any details or designs you wish to add. I went for a very minimalist, graphic-design look, so my birds are highly unrealistic and more whimsical. To save time, you could paint the backs of the magnets plain black. Let the paint dry.

Step 3.
Add a coat of clear gloss to one side, let that dry, then do the other side and let that dry.

Step 4.
Glue on the magnets. Hot glue was not strong enough for my magnets to I used J.B. Weld epoxy. I had to mix two different parts together, and I used a popsicle stick. Then, with the popsicle stick, I dabbed two spots of glue for two magnets on the back of each bird, rubbed some on one side of each magnet, and stuck the magnets on. Do NOT get J.B. Weld or super glue on your skin or anything but this project! Let that dry, and you're done!

To package the magnets, I cut out squares of card-stock and wrote "You're a mother like no other!" You could substitute 'mother' for any word befitting your purpose. At the bottom I wrote "Happy Mother's Day!" I just used a regular gel ink pen. Even a decent ball-point pen could work. I tied them on with string or twine, and punching holes into the card-stock to tie the string through is highly recommended.


I hope you find this useful! I have a lot of events to share soon! 

-Lauryn

Share this PostPin ThisEmail This

Tuesday, January 31, 2017

My 18th Chronicles of Narnia Birthday Party

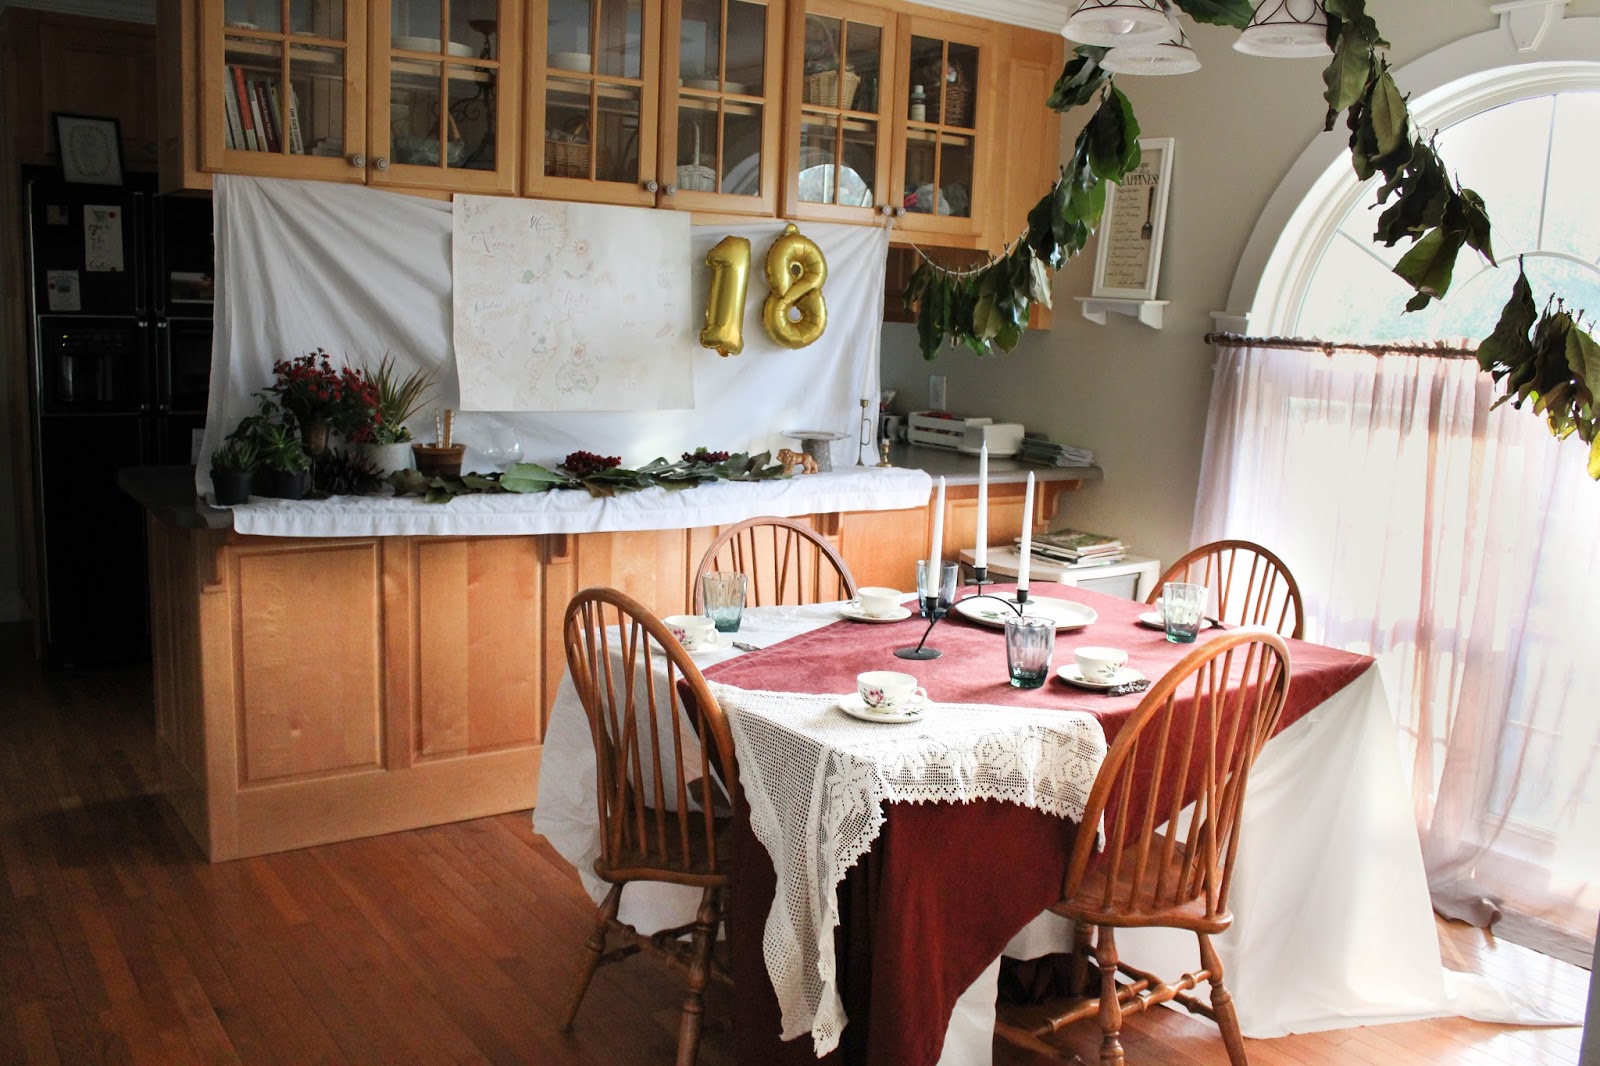
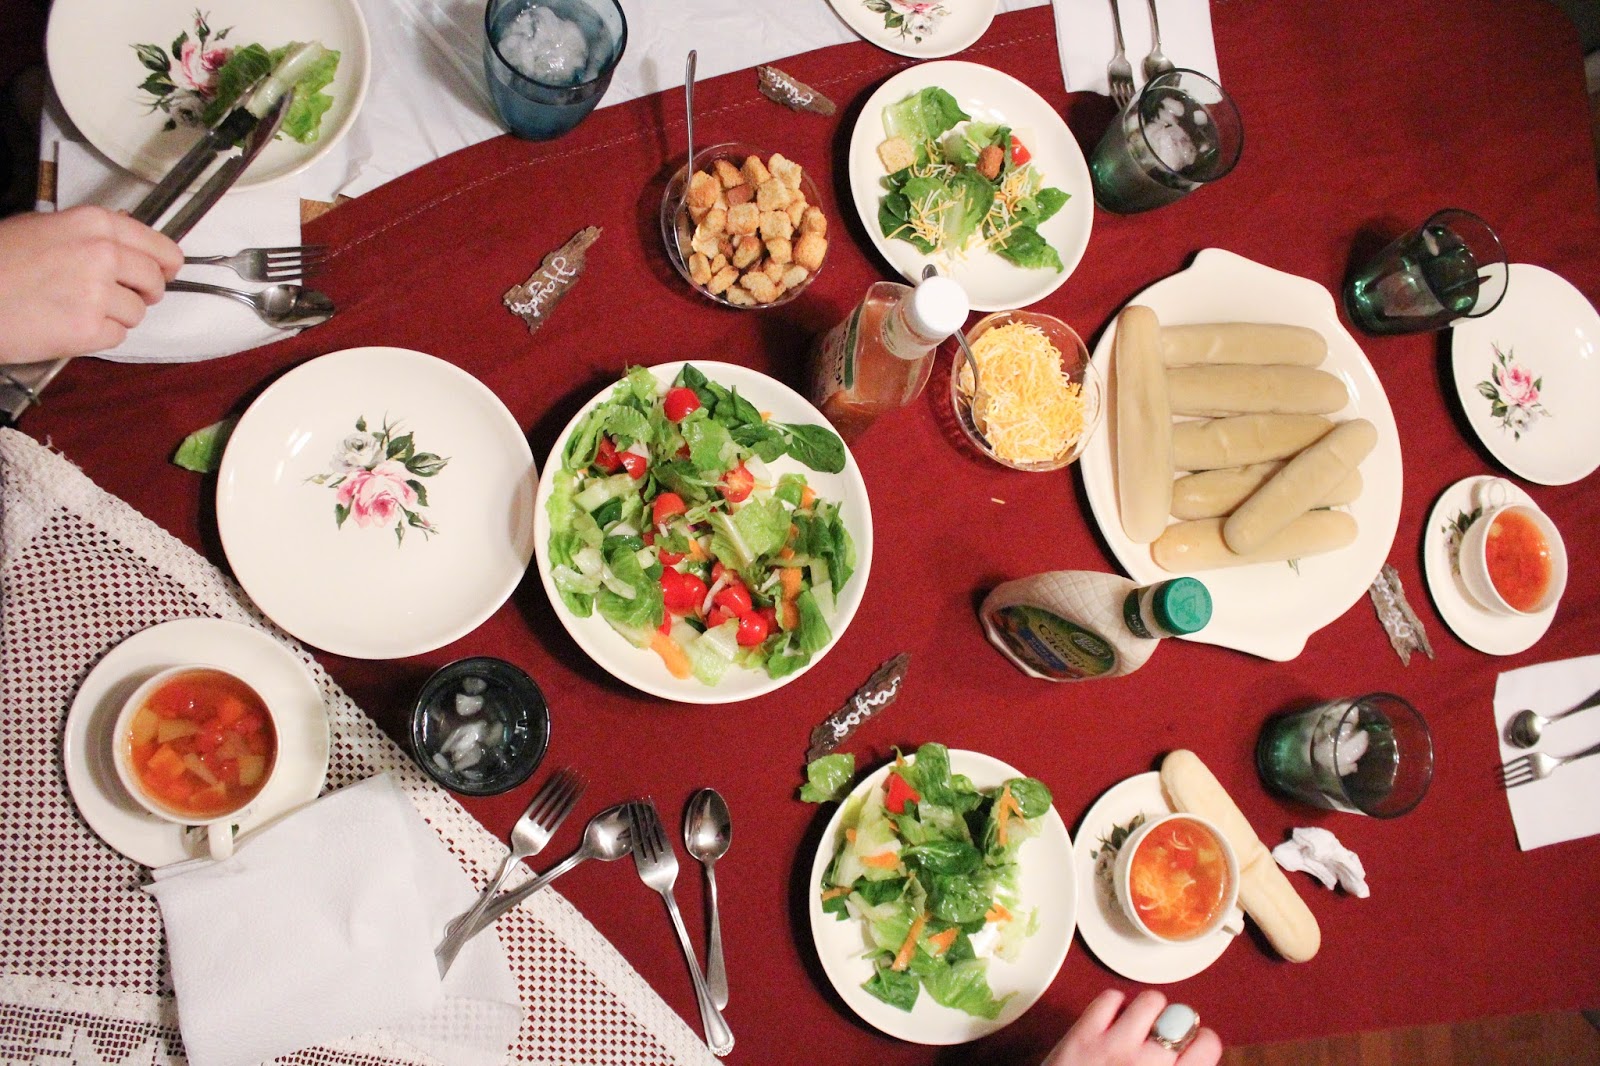
For my 18th birthday I had a Chronicles of Narnia party. Not just "The Lion, The Witch, and The Wardrobe" party, but a party inspired by the whole series. It was very simply decorated. The color scheme was green, black, white, gold, silver and burgundy. For the meals, we ate soup, bread, salad, and fruit. The next day we ate pancakes, eggs and fruit. No Turkish delight, unfortunately :( For favors, I made twig pencils and notebooks with C. S. Lewis quotes. I also made natural leaf crowns with ribbons as party hats. The leaf garlands were made from magnolia leaves (thank you to the contributor!). It was fun!


I'll be doing some Valentine's Day posts soon!
-Lauryn
Share this PostPin ThisEmail This

Thursday, October 13, 2016

DIY Birthday in a Jar Gifts

Here's my version of the popular 'Birthday-in-a-Jar' gifts all over Pinterest. I actually did two that had themes for two of my cousins. One theme is 'Happy' and the other is 'Woodland.' You can see everything I put in them and I typed a list of everything included below.


In each jar, there is:
-A crown
-A candle
-A toy
-And in one there is a happy-face balloon; in the other is a bag of handmade confetti.


This cute gift is simple, not too expensive, and fun! The balloon is from Hobby Lobby, I got a big pack of mini candles at Dollar Tree, from which I got the neon green candles, the confetti was made by cutting circles out of brown paper, and the felt crowns were made with felt from Walmart, hot glue, and elastic that was both sewed and glued on. I stiffened the felt with Elmer's glue on the back. I also filled the jars with some brown paper grass I had on hand. Have fun!


Share this PostPin ThisEmail This